

Are you tired of that boring concrete slab leading up to your garage? Ever considered pavers for your driveway, even if it’s on a slope? You might be surprised to learn that a sloped driveway doesn’t have to be a barrier to having the beautiful, durable paver driveway of your dreams.
In this guide, we’ll walk you through everything you need to know about using pavers on a sloped driveway, including:
- Assessing your slope: How steep is too steep for pavers?
- Proper base preparation: The key to a long-lasting paver driveway.
- Choosing the right pavers: We’ll help you find the perfect fit for your steep slope and style.
- Paver installation techniques: Tips and tricks for a smooth, secure finish.
- Maintenance and care: Keep your pavers looking their best for years to come.
Speaking of looking their best, Sublime Pavers can help you design and install a stunning paver driveway that’s perfectly suited for your home’s slope. With our expert team and top-notch customer service, you’ll get a driveway that’s as beautiful as it is functional.
Assessing Your Driveway’s Slope
Before you jump headfirst into paver paradise, you need to figure out if your driveway’s slope is pave-able. Don’t worry. It’s not as complicated as it sounds.
First things first, grab a level and a measuring tape. You’re going to channel your inner Bob the Builder and check the grade, or steepness, of your driveway. A gentle slope is no problem for pavers, but a steep incline might need some extra attention.
Here’s a quick rule of thumb:
- Less than 5% grade: You’re golden. Pavers are a great option.
- 5-10% grade: Still doable, but you might need some extra base preparation and maybe even a retaining wall.
- Over 10% grade: Pavers might not be the best choice here. You could consider other materials or consult with a professional like Sublime Pavers for alternative solutions.
Now, how do you actually measure the grade? Easy peasy.
- Measure a 10-foot section of your driveway.
- Place the level at the higher end and lift the lower end until it’s level.
- Measure the distance between the ground and the end of the level.
- Divide that distance by 120 (10 feet x 12 inches) and multiply by 100 to get the percentage.
For example, if you measure a 6-inch difference, your grade would be 5% (6 / 120 x 100 = 5).
If you’re not comfortable with the DIY approach, Sublime Pavers offers free consultations and can accurately assess your driveway’s slope for you. We can also advise you on the best course of action for your specific situation.
Base Preparation for a Sloped Driveway
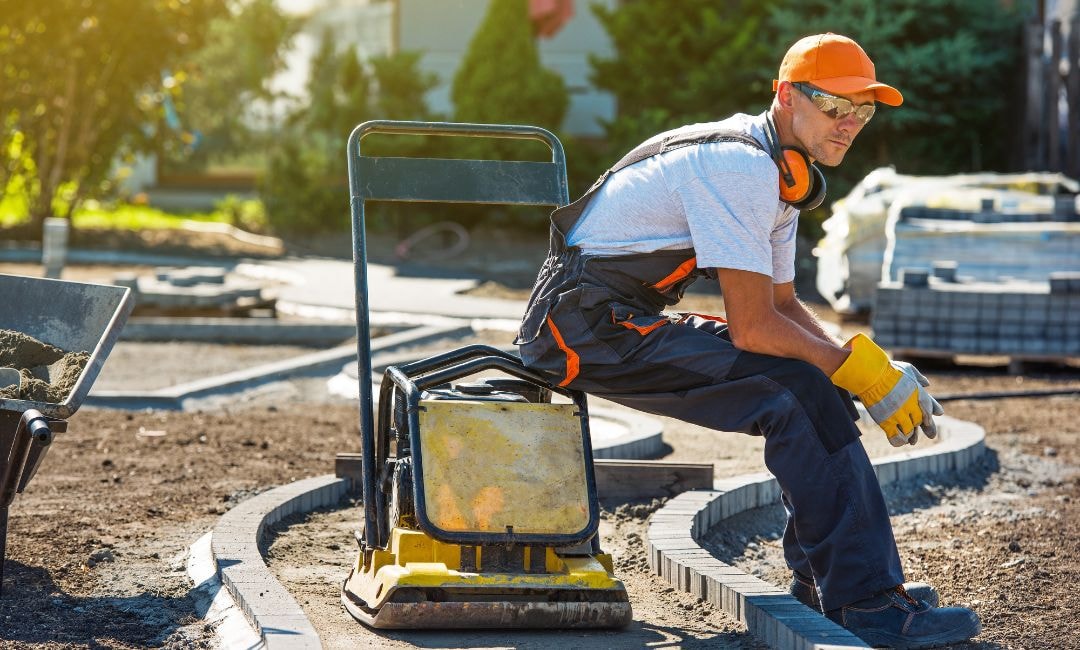
So you’ve assessed your slope, and you’re ready to roll up your sleeves. Now comes the really important part: base preparation. A skyscraper needs a strong foundation, right? Well, your paver driveway is no different. A solid base prevents your pavers from shifting, cracking, or becoming a bumpy mess.
Here’s the breakdown of how to prep your base like a pro:
- Excavate: First, you need to dig down. The depth depends on the type of soil you have and how much weight your driveway needs to support. A good rule of thumb is to excavate 6-8 inches deep for pedestrian traffic and 10-12 inches for vehicles. Remember to factor in the slope. You’ll need to excavate more at the higher end to maintain a consistent grade.
- Compact: Once you’ve excavated, it’s time to compact the soil. This creates a stable surface for your base materials. You can rent a plate compactor from most home improvement stores. Make sure the soil is slightly damp for optimal compaction.
- Add Base Layers: Now, you’ll add layers of base material. Start with a layer of coarse gravel, compact it, then add a layer of finer gravel and compact again. This creates a strong, interlocking base that can handle the weight of vehicles and the shifting caused by the slope.
- Geotextile Fabric (Optional): If your soil is particularly unstable or prone to drainage issues, consider adding a layer of geotextile fabric between the soil and the gravel. This helps prevent the gravel from sinking into the soil and improves drainage.
- Edge Restraints: These are essential for keeping your pavers in place, especially on a slope. Edge restraints can be made of plastic, metal, or even concrete. Install them around the perimeter of your driveway, making sure they’re level and secure.
- Bedding Sand: The final layer is a layer of bedding sand. This provides a smooth, even surface for your pavers to rest on. Spread the sand evenly and use a screed board to level it.
Picking the Perfect Pavers for Your Sloped Driveway
You’ve got your slope figured out, and your base is rock-solid (literally). Now for the fun part: choosing the pavers themselves. But with so many options out there, how do you pick the right ones for your sloped driveway? Don’t worry. We’ve got you covered.
Here are some key factors to consider:
- Material: Concrete pavers are a popular choice because they’re durable, affordable, and come in a wide variety of colors and styles. Natural stone pavers offer a more upscale look but can be pricier.
- Thickness: Since your driveway is on a slope, you’ll want to choose thicker pavers for added stability. Aim for pavers that are at least 3 inches thick.
- Texture: Smooth pavers can be slippery when wet, so consider textured pavers for better traction, especially on a slope.
- Size and Shape: Larger pavers can create a more modern look, while smaller pavers offer more flexibility for creating patterns and curves. Keep in mind that smaller pavers may require more cutting to fit the slope of your driveway.
- Color: Choose a color that complements your home’s style and the surrounding landscape. Lighter colors can make your driveway appear larger, while darker colors can add a touch of drama.
Don’t Forget Permeability
If you live in an area with heavy rainfall, consider permeable pavers. These pavers allow water to seep through, reducing runoff and preventing puddles from forming on your driveway. This is especially important for sloped driveways, as water can quickly flow downhill and cause erosion or flooding.
By carefully considering these factors, you can choose pavers that not only look great but also provide a safe and durable surface for your sloped driveway. Need some inspiration? Check out Sublime Pavers’ gallery of past projects to see how different pavers can transform a driveway.
Installing Pavers on a Slope: A Step-by-Step Guide
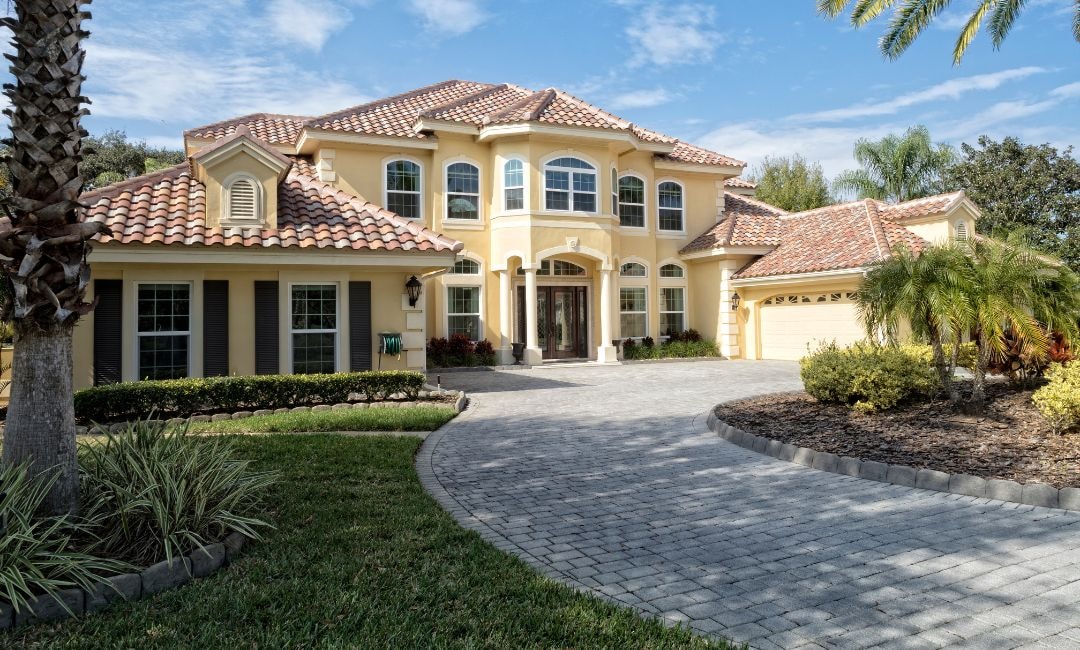
Now that you’ve got the perfect pavers, it’s time to put them in place. Installing pavers on a slope requires a bit more finesse than on a flat ground, but with the right techniques, you can achieve a beautiful and durable result.
- Start from the Bottom: Always begin installing your pavers at the lowest point of the slope. This helps prevent them from sliding down as you work your way up.
- Lay in a Stair-Step Pattern: Instead of laying pavers in straight rows, use a stair-step pattern. This helps to lock the pavers together and prevent them from shifting.
- Use a Level and a Rubber Mallet: As you lay each paver, use a level to ensure it’s properly aligned and a rubber mallet to gently tap it into place.
- Cut Pavers as Needed: You’ll likely need to cut some pavers to fit the slope and edges of your driveway. Use a wet saw with a diamond blade for clean, accurate cuts.
- Compact the Pavers: Once all the pavers are in place, use a plate compactor with a protective pad to compact them and ensure they’re firmly set in the bedding sand.
- Add Joint Sand: Sweep joint sand into the spaces between the paver joints. This helps to lock them together and prevent weeds from growing. Use polymeric sand for added durability and stain resistance.
- Seal the Pavers (Optional): Sealing your pavers can help protect them from stains, fading, and efflorescence (those pesky white salt deposits). Choose a sealer that’s specifically designed for pavers and apply it according to the manufacturer’s instructions.
Drainage is Key
Remember to ensure proper drainage system into your design, especially on a slope. This might involve installing drains or creating a swale to direct water away from your driveway.
Keeping Your Pavers Looking Sublime: Maintenance and Care
You’ve got yourself a beautiful paver driveway that’s the envy of the neighborhood. But like any outdoor walking surface, your pavers need a little TLC to stay looking their best. Here are some simple tips to keep your pavers in tip-top shape:
- Regular Sweeping: Sweep your driveway regularly to remove dirt, leaves, and other debris. This prevents staining and keeps your pavers looking fresh.
- Occasional Washing: Give your driveway a good wash every few months with a garden hose and a mild detergent. You can also use a pressure washer, but be careful not to use too much pressure, as this can damage the pavers.
- Weed Control: Pull any weeds that pop up between the pavers. You can also use a weed killer, but make sure it’s safe for pavers and won’t damage the sealer.
- Reseal Every Few Years: If you sealed your pavers, you’ll need to reseal them every few years to maintain their protection and appearance. The frequency depends on the type of sealer you used and the amount of heavy vehicle traffic your driveway receives.
- Repair any Damage: If you notice any cracks or chips in your pavers, repair them promptly to prevent further damage. You can use a patching compound or replace the damaged pavers.
Winter Care
If you live in an area with harsh winters, take some extra precautions to protect your pavers from the elements. Avoid using salt or other de-icing chemicals, as these can damage the pavers. Instead, use sand or kitty litter for traction. You can also apply a sealant specifically designed for winter protection.
By following these simple maintenance tips, you can ensure that your paver driveway remains a beautiful and functional part of your home for many years to come.
Ready to Roll with Your Dream Paver Driveway?
So, can you use pavers on a sloped driveway? Absolutely. With the right planning, preparation, and proper installation, you can achieve a stunning and durable driveway that complements your home’s style.
Just remember these key takeaways:
- Assess your slope: Determine if your driveway’s grade is suitable for pavers.
- Prep that base: A stable foundation is key to preventing shifting and cracking.
- Choose wisely: Select pavers that are durable, textured, and aesthetically pleasing.
- Successfully install pavers with absolute care: Use proper techniques to ensure a secure and long-lasting result.
- Maintain regularly: Keep your pavers clean and sealed to protect their beauty.
Sublime Pavers can help you every step of the way, from choosing the perfect pavers to handling the installation with expert care. With our commitment to quality and customer satisfaction, you can rest assured that your sloped driveway will be a masterpiece. Contact us today for a free consultation, and let’s get paving.


